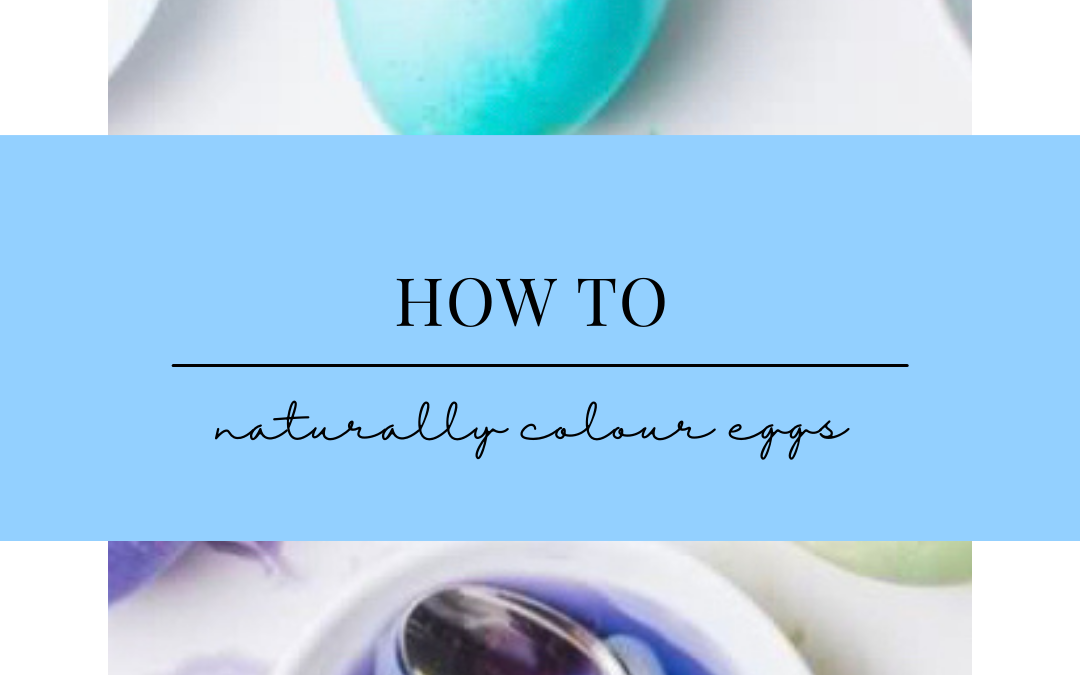
This time of the year is one of my favourite times for art and craft. I like to keep things as natural as possible especially when children as involved. One of my favourite activities to do, is to naturally dye easter eggs. It is simple, fun and a great way for your children to learn about colours and experiment with making their own. Let’s jump into the how-to!
Creating your Natural Colours
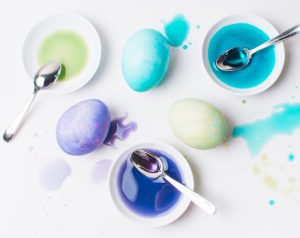
I love to make a variety of colours to colour our eggs. White eggs turn out more vibrant (you can generally get these from farmers markets). While brown eggs don’t turn out as bright, they still work well, and these eggs are more accessible.
The ingredients you use will depend on the colour you are trying to achieve. I like to pick colours that I already have the ingredients for. That way it isn’t another run to the shop for something that I will probably forget to buy (let’s be honest – we are all friends here)!
1 cup chopped purple cabbage = blue on white eggs, green on brown eggs
- 1 cup red onion skins = lavender or red eggs
- 1 cup yellow onion skins = orange on white eggs, rusty red on brown eggs
- 1 cup shredded beets = pink on white eggs, maroon on brown eggs
- 2 tablespoons ground turmeric = yellow eggs
- 1 bag Red Zinger tea = lavender eggs

Now you are ready to get started!
1. Bring the dye matter and water to a boil. Turn heat down to low and simmer, covered, for 15-60 minutes until desired colour is reached.
2. Remove the egg dye from heat and let it cool to room temperature.
3. Pour the dye through a mesh strainer into bowls and add 1 tablespoon of vinegar for each cup of dye liquid.
4. Add the hard-boiled eggs to the dye and place them in the fridge until the desired colour is reached.
Involving Your Children
It can be difficult to work out how to involve your children this activity. Let’s be honest maybe the thought of including them sounds stressful. If that is you, that is okay. You can make these eggs for your children to enjoy. However, if you want to involve them keep reading.
My biggest piece of advice is that you don’t need to include them in every element. Instead consider what they would be good at and that they are currently excited to learn.
My children as very young (2 years old and 8 months old), so it means that it is easiest for me involve them in different parts of this activity. For example, my 2-year-old son will help me make the hard-boiled eggs (he loves cooking) and I give him option of what colours we should make (depending on the ingredient we have). This is a great way for him to practicing identifying and saying the names of colours. Whereas my 8-month-old daughter has started to enjoy posting activities. So, allowing and encouraging her to put the hard-boiled eggs into the dye is perfect for her.
My final word of advice is be prepared for it to get messy. If you enter every activity ready to quickly clean up your child (quick escape plan), it makes the whole process more enjoyable.
This month’s blog has been written and shared by a guest, the wonderful and talented Tara.
Tara is a Mum, Primary Teacher, and biz owner of The CAPA Box and Metcalfe Studios. Tara has personally designed and created a range of DIY art, craft and home décor boxes for children through to adults. So if you are looking for some inspiration, an activity for your children (while you enjoy a cuppa) or you want to make your own candles, make sure you head over to:
Facebook: www.facebook.com/capabox
Instagram: www.instagram.com/the_capa_box
Website: www.capabox.com.au